This week's custom is
"Battle of Hoth - AT-AT Down" by Hemble Creations

"
Hi All, restarted on the 1:12 AT-AT head for a mate, I have to do some filling add the dome eye se tions and then start on the finwr detials.
I hav restarted the AT-AT head and I sanded it and started adding details using plastic card and greeblies from the parts bin.
The AT-AT head is now ready for painting and weathering. I made the side mounted sections using pot plant bottoms and then using spakfilla to make the curved sections. The side weapons were finally done also by using plastic card to make them.
I have sprayed the head using Tamya's Nuetral Grey and have started sanding what area's I missed when I sanded it before. I will get another spray on it tomorrow and then I'll start they weathering
The sanding is now complete and I didn't make it to teh shops today so I'll pick up the paints I need tomorrow.
But until then I started on the smoke using a wire coat hanger and then gluing the cotton wool balls to it. I still need to add spary paint them to simulate smoke.
The smoke will also need plastic card added to it to simulate the hull being blown outwards.
For the fire as you can on the non stick paper it is still drying and once it does it will be completely clear. I used Woodland Scenics Water Effects and once it does become clear I will paint the inside of it to give a fire look and then add the flickering lights.
once the smoke and fire is done it will allow my mate to add it to the dio whenever he wants.
Have sprayed the AT-AT head and will weather it tonight. I have also done the smoke using Tamiya's matt black and medium grey spary cans until I was happy with the result.
The flames I have started and I used cheap battery powered flickering lights. I then used Woodland Scenics Water Effects to make the fisrt lot of flames and gave them a wash of red/orange and yellow.
I still need to add smoke around the base of the flames and also use the Water Effects to bulk up the flames
On the last legs of the AT-AT dio build. I have weathered the AT-AT head by giving it a few washes of matt black and once dry I used pastel chalks to give the plating areas more depth.
I have also added weapons damage and will give crabon scouring marks using pastel chalks. I have glued the head down to the base and will start on the ground work and snow tomorrow.
I have added the snow by watering down spakfilla until it is like a pancake consistency and then applied it to the base. The snow on the AT-AT was done using a small brush and then using a almost dried out baby wipe and dabbing into the spakfilla and then dabbing it over the AT-AT head.
The AT-AT Driver is now repainted and weathered, I used Vallejo and Army Painter paints to do the painting and weathering and again Hasbro have done an awesome job on the sculpting it just needed a nice paint job to bring out the details.
I have given the armour, pipes, leg harness and jumpsuit different gerys and washes but I don't think they came out that great in the pics. I have done a compasrion shot next to an unpainted AT-AT driver.

I am now 95% done on this dio and just need to add a little more snow to the base and smoke to the flames.
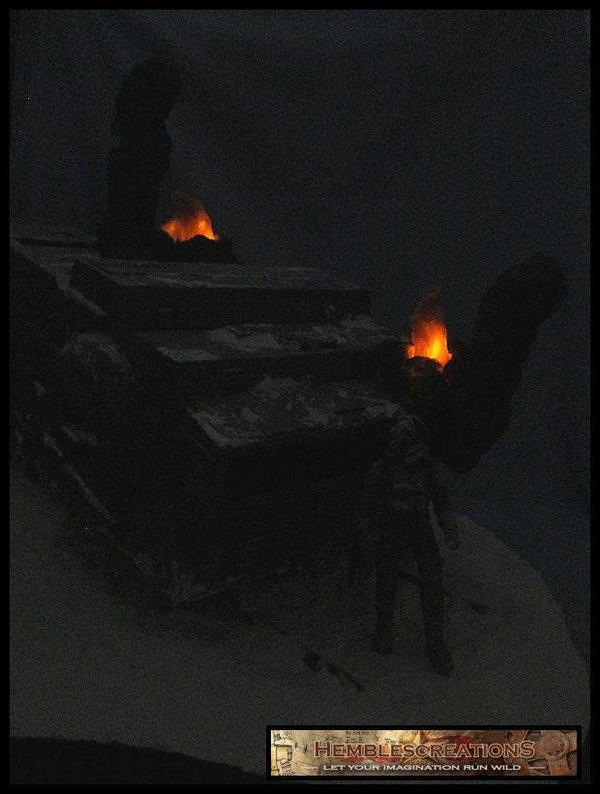
Here are the usual outdoor pics for the AT-AT head dio and also one with the lights down and the flames on."

Check out the image(s) of his custom below in our GALLERY!
Click here if you would like to submit your own custom figure(s) to be displayed on JediInsider.com, and be sure to check out our
Custom Forum section, where you can discuss and show off your work among other customizers.


